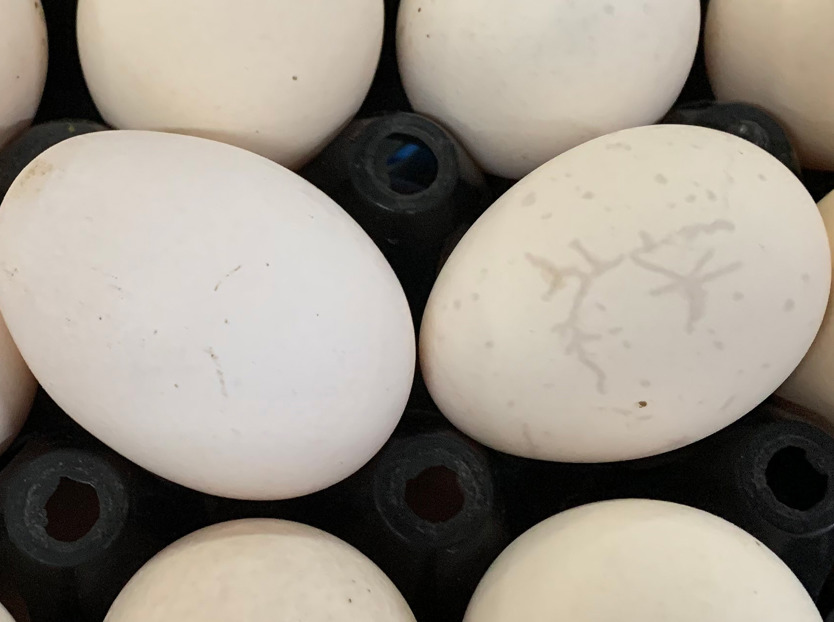
To achieve good hatchability and chick quality, bird eggs need careful management from the time they are laid to the time they hatch. Breakout analyses are a valuable tool in the hatchery manager’s hatching egg management arsenal. By making breakouts part of the quality control procedure in your hatchery, you will be able to improve your hatch results in the long term.
What exactly is a breakout analysis?
Simply put, it is carefully examining clear or unhatched eggs by opening them up to determine why the embryo has not developed or hatched. The egg content reveals whether an egg was infertile, if microbiological contamination occurred, or at which stage of incubation the embryo died. Hence, a breakout can be seen as a very useful tool for both solving problems (e.g. a sudden drop in hatchability) and looking for areas to improve hatch performance.
Three good reasons to perform breakouts
A first good reason to perform breakouts is to gain insight into the causes of a disappointing hatch. There are times in the hatchery when hatches do not go according to plan and you find yourself with far fewer chicks than you estimated. At these times, breakouts are the only reliable way to identify what caused the losses.
Breakout analyses are also used to evaluate new incubation profiles over current ones to improve results. For example, you may want to increase weight loss by lowering humidity or increasing setter ventilation, or you may want to eliminate unhealed navels by lowering hatcher temperatures. In these cases, eggs from the same flock laid on the same day should be used in both the ‘control’ machines and the ‘trial’ machines. It is important that only one changed setting is tested per trial so you can reliably establish the difference that setting made.
However, the greatest value of breakouts is found in historical analysis. Routine breakouts, data amalgamation and interpretation can highlight trends and allow you to properly evaluate breeder farms, conditions during egg holding, handling and transport, as well as individual setter and hatcher performance. In this case, each breeder flock should be examined weekly and the data should be put into a database for periodical analysis. It is only by building this kind of ‘database’ that you have a good baseline for investigating hatchability problems when they arise.
Pre-hatch and post-hatch breakout analysis
There are two different moments to perform breakouts on incubated eggs: during candling and after take-off.
The pre-hatch or ‘candling’ breakout analysis is performed during candling, before transferring the incubated eggs to the hatcher for the last days of incubation. All eggs that are removed from the trays as clear eggs should be broken out and examined. The candling breakout is accurate in distinguishing between ‘true infertiles’ (blastodisc) and early dead embryos (blastoderm) caused by breeder farm or hatchery problems, such as prolonged egg storage, poor storage conditions or excessive fumigation.
The post-hatch or ‘hatch day’ breakout analysis involves the examination of all unhatched eggs after take-off. This type of breakout is crucial to pinpoint egg transfer issues or problems in the hatcher on one hand, and to compare breeder companies and evaluate farm management on the other hand.

Improved hatch results by keeping accurate records
When you are not performing breakout analyses, you are literally throwing away valuable information in your hatchery debris that can help solve breeder farm and hatchery problems. By opening up your clear and unhatched eggs to collect, store and use that information, you can turn your guesses about bad hatchability into factual data and continuously improve your hatch results in the long term.
Petersime is happy to help you in learning how to perform a proper breakout analysis. A hands-on session on egg breakouts is included in the training programmes we offer. Please don’t hesitate to contact us for more information.


